San Diego’s notoriously hard water leaves its mark on everything, faucets crusted with white buildup, water heaters that die young, and laundry that feels stiff no matter how much fabric softener you add. Installing a water softener isn’t just about comfort: it’s about protecting your plumbing investment and cutting down on the constant battle against mineral deposits. Whether you’re handy enough to tackle the install yourself or planning to hire a pro, understanding the process, local codes, and what makes a system right for San Diego’s water conditions will save you headaches and money down the line.
Table of Contents
ToggleKey Takeaways
- San Diego’s hard water registers 13–17 grains per gallon, causing scale buildup that reduces water heater efficiency by up to 30% and damages plumbing, making water softener installation essential for homeowners.
- Properly sizing your water softener based on household water usage and local hardness levels prevents constant regeneration cycles; a family of four in San Diego typically needs a system rated for 30,000–40,000 grains between regenerations.
- DIY water softener installation takes 3–5 hours and is achievable for basic plumbing skills, but professional installation ($300–$600 in San Diego) is recommended if your water lines are inaccessible or you have older plumbing requiring upgrades.
- San Diego permits and California Plumbing Code require softener drain lines to discharge through an air gap and installation with a bypass valve; licensed contractors ensure compliance and inspection sign-off for future resale protection.
- Salt-based ion exchange softeners remain the most effective and affordable option, while high-efficiency models using less than 25 gallons per regeneration cycle help comply with local drought-response water regulations.
Why San Diego Homeowners Need Water Softeners
San Diego County’s water supply registers between 13 and 17 grains per gallon (gpg) hardness, depending on your specific neighborhood and water district. Anything above 7 gpg is considered hard: San Diego’s water qualifies as very hard by industry standards.
The calcium and magnesium in hard water wreak havoc on household systems. Scale buildup reduces water heater efficiency by up to 30%, shortening lifespan and driving up energy bills. Dishwashers, washing machines, and even coffee makers develop mineral deposits that clog valves and reduce performance. Soap doesn’t lather properly in hard water, meaning you’ll use more detergent, shampoo, and cleaning products to get the same results.
For homes with copper or PEX plumbing, scale accumulation inside pipes gradually restricts flow and increases pressure on fixtures. Older galvanized pipes are especially vulnerable, mineral buildup can choke off water flow to the point where re-piping becomes necessary. A water softener system stops this process by exchanging calcium and magnesium ions for sodium or potassium, protecting your plumbing infrastructure before damage compounds.
Beyond the mechanical benefits, soft water feels different. Skin and hair respond better without the mineral film left by hard water, and laundry comes out noticeably softer. If you’ve noticed white residue on glassware or showerheads that require frequent descaling, those are clear signs your home would benefit from a softener.
Choosing the Right Water Softener for Your San Diego Home
Sizing a water softener correctly matters more than most homeowners realize. An undersized unit will regenerate constantly, wasting salt and water: an oversized one costs more upfront without delivering additional benefits.
Start by calculating your household’s daily water usage. The average person uses 80–100 gallons per day. Multiply that by the number of people in your home, then multiply by your water’s hardness level in grains per gallon. For a family of four in San Diego with 15 gpg water: 4 × 90 gallons × 15 gpg = 5,400 grains removed daily. Add a buffer for peak usage days, and you’ll want a system rated for at least 30,000–40,000 grains between regenerations.
Salt-based ion exchange softeners remain the most effective and affordable option. These systems use resin beads to capture hardness minerals and flush them out during a regeneration cycle, using salt brine. They require regular salt refills, typically a 40-pound bag every 4–6 weeks for an average household.
Salt-free conditioners (also called descalers) don’t actually remove hardness minerals: they crystallize them so they’re less likely to stick to surfaces. They won’t give you the true soft water feel, but they require no salt, no drain connection, and virtually no maintenance. They’re a middle-ground option if you want some scale protection without traditional softening.
Dual-tank systems are worth considering for larger households or homes with high peak demand. While one tank regenerates, the other continues softening water, you never run out of soft water, even during the regeneration cycle.
Many DIY plumbing projects require understanding your home’s specific water conditions, and softener selection is no exception. Check your water bill or contact your local water district for a recent hardness report. San Diego’s water hardness varies between coastal and inland areas, with eastern suburbs often seeing higher mineral content.
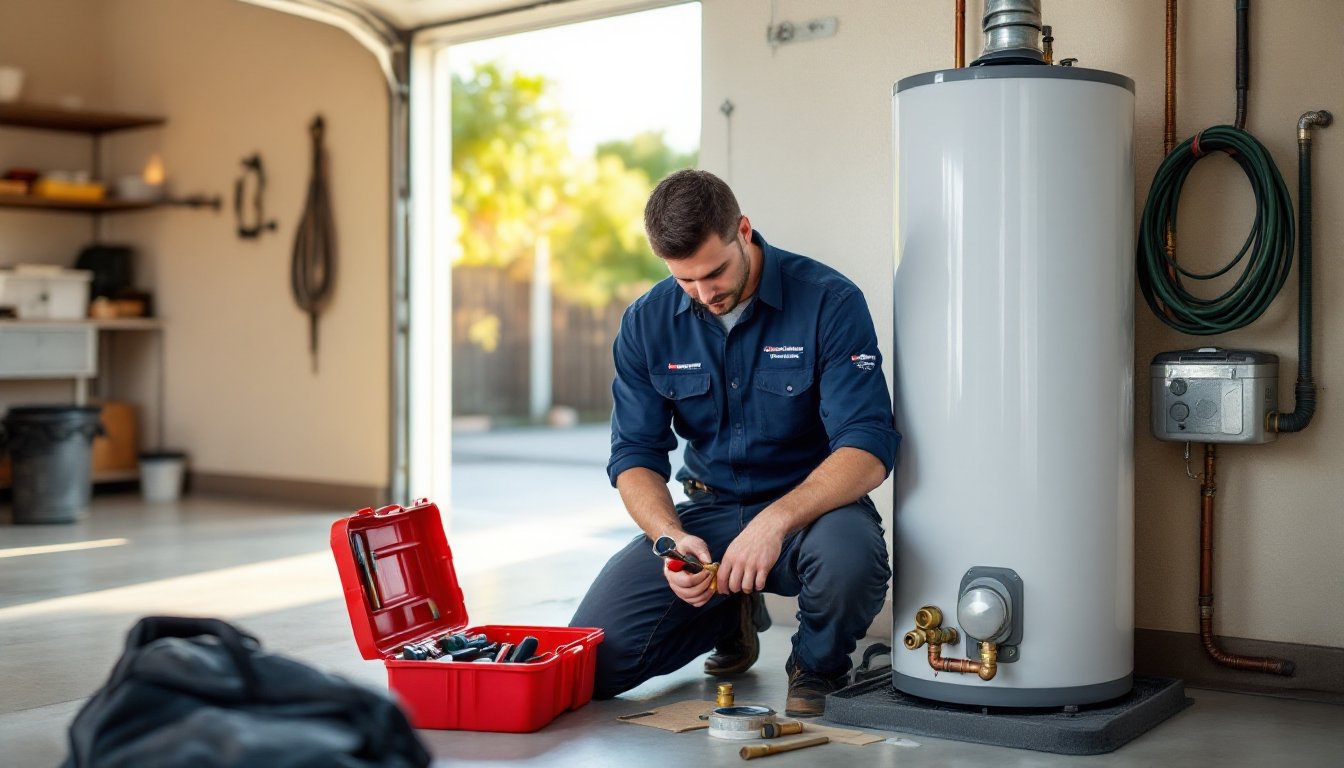
DIY vs. Professional Water Softener Installation: What San Diego Homeowners Should Know
Installing a water softener is within reach for homeowners comfortable with basic plumbing, but there are situations where calling a pro makes more sense.
A typical DIY install takes 3–5 hours and requires cutting into your main water line, installing a bypass valve, running a drain line, and making several threaded or compression fittings. You’ll need a pipe cutter or hacksaw, adjustable wrenches, Teflon tape, and possibly a soldering torch if you’re working with copper. If your water line is easily accessible (usually in the garage or basement), the physical work is straightforward.
But San Diego homes built on slab foundations often have water lines buried in concrete or routed through tight crawl spaces, making access difficult. Homes with older galvanized plumbing may need pipe upgrades before a softener can be added safely. If your main shutoff valve is corroded or hasn’t been turned in years, attempting to close it could cause a failure, better to let a plumber handle the valve replacement at the same time.
Professional installation typically runs $300–$600 in the San Diego area, not including the softener unit itself. That covers labor, materials, and a warranty on the work. For homeowners comparing options, local water softener pros in San Diego can provide multiple quotes and handle permit applications if required.
If you’re installing a water softener system San Diego professionals recommend, ask whether the installer will handle the post-installation inspection required by some municipalities. Having a licensed plumber do the work can simplify the permitting process and ensure compliance with California plumbing code (CPC) amendments.
One often-overlooked factor: if you’re adding a softener to a home with a tankless water heater, consult the heater’s manufacturer first. Some warranties require specific water quality parameters, and improper softener settings can void coverage.
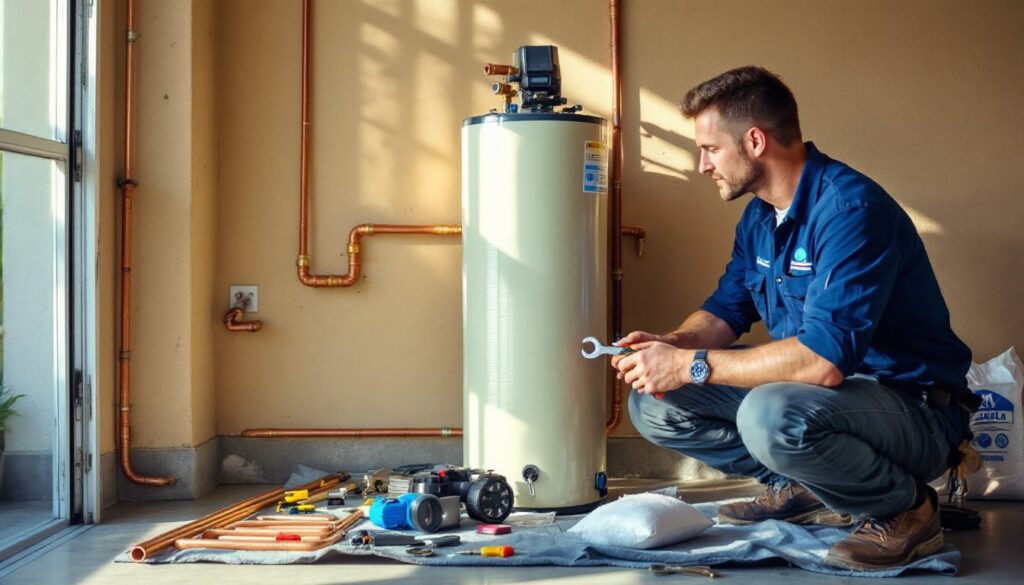
Step-by-Step Water Softener Installation Process
Before you start, shut off the main water supply and open a faucet at a low point in the house to drain residual pressure. Wear safety goggles when cutting pipe, metal shavings and water spray are common. Lay down a tarp or cardboard to catch spills, especially if you’re working on finished flooring.
Preparing Your Plumbing and Installation Area
Locate your main water line where it enters the house, ideally before it splits to your water heater. The softener should treat all water except outdoor hose bibs (no need to soften irrigation water). Install a bypass valve at this point, most softeners come with a three-valve bypass assembly that lets you divert water around the unit for maintenance.
Measure and mark your cuts carefully. Standard softeners need about 10 inches of clearance for the bypass valve and fittings. Use a pipe cutter for clean, square cuts on copper. For PEX, a dedicated PEX cutter prevents crushing the tubing. If you’re working with CPVC, use a fine-tooth saw and deburr the cut edges thoroughly.
Position the softener near a drain and a 120V GROUNDED outlet. Most codes require the drain line to have an air gap, the discharge hose can’t be inserted directly into a drainpipe. Use a standpipe or laundry sink, with the hose end at least 2 inches above the drain opening to prevent backflow.
Check the floor surface. Softeners are heavy when full, upwards of 300 pounds with water and salt. Make sure the floor can support the weight. Concrete is ideal: wood floors may need reinforcement.
Connecting Your Water Softener System
Install the bypass valve assembly to the softener’s inlet and outlet ports. Use Teflon tape on threaded connections, wrap clockwise, 3–4 turns. Hand-tighten first, then use a wrench for another half turn. Overtightening plastic threads can crack the valve body.
Connect the bypass assembly to your cut water lines using compression fittings, SharkBite push-to-connect fittings, or soldered copper, depending on your pipe type. Compression fittings are the most DIY-friendly, slide the nut and ferrule onto the pipe, insert the pipe fully into the fitting body, and tighten the nut until snug. Don’t rely on excessive force: the ferrule should bite into the pipe with moderate pressure.
Run the drain line to your standpipe or floor drain. Use ½-inch vinyl or PEX tubing. Secure it with clamps, and avoid kinks or sharp bends that restrict flow. Some jurisdictions require a check valve on the drain line to prevent backflow contamination, verify with your local building department.
Connect the overflow tube (brine tank drain) to the same drain system, maintaining the required air gap.
Plug the softener into a dedicated outlet. Don’t use an extension cord, these units draw power intermittently for the control valve and regeneration motor, and loose connections can cause failures.
Slowly open the main water valve and check all connections for leaks. Tighten as needed, but watch for cracks if you’re working with plastic fittings. Open the bypass valve to allow water into the softener, then run a manual regeneration cycle to flush the resin bed and check drain flow.
San Diego Permits, Codes, and Regulations for Water Softener Installation
San Diego County and many incorporated cities require permits for water softener installations, particularly if you’re modifying existing plumbing or adding new drain connections. This isn’t universal, some municipalities allow homeowner-installed softeners without permits if no structural changes are made, but assuming you don’t need one can lead to complications during home sales or insurance claims.
The California Plumbing Code (CPC) requires softener drain lines to discharge through an air gap, as mentioned earlier. Direct connections to drain lines are prohibited to prevent contamination of potable water. Softeners must also be installed with a bypass valve so they can be isolated for service without shutting off household water.
If your home is on a septic system, confirm that your tank can handle the additional wastewater from regeneration cycles. Some older or undersized septic systems struggle with the concentrated brine discharge. In those cases, a demand-initiated regeneration controller (which only regenerates when needed, rather than on a fixed schedule) reduces the load.
Homeowners tackling similar projects often consult cost and planning guides to understand permit fees and inspection requirements specific to their area.
San Diego’s water agencies also have specific rules about water softener San Diego installations related to drought response. Some water districts prohibit softeners that waste excessive water during regeneration. Look for high-efficiency models that use less than 25 gallons per regeneration cycle and have third-party WaterSense or similar certifications.
If you hire a contractor, verify they’re licensed (C-36 plumbing license in California) and that they’ll pull the permit. Licensed work typically includes an inspection sign-off, protecting you if issues arise later. A rough inspection may be required before covering any new plumbing, and a final inspection after the install is complete.
After installation, keep your permit paperwork and any product manuals. Future buyers will want documentation, and some home warranties require proof of permitted work. Properly installed and maintained, a quality water softener should last 15–20 years, protecting your San Diego home’s plumbing and improving daily water quality throughout its lifespan.