Nothing’s more frustrating than reaching for ice on a hot day only to find an empty bin. If a Frigidaire refrigerator ice maker stops producing cubes, the problem is usually mechanical or water-related, not a death sentence for the appliance. Most ice maker failures trace back to a handful of common culprits: water supply issues, frozen lines, a stuck arm, or a faulty valve. Before calling a technician, homeowners can diagnose and fix many of these issues with basic tools and a methodical approach. This guide walks through seven practical troubleshooting steps to get ice flowing again.
Table of Contents
ToggleKey Takeaways
- Most Frigidaire refrigerator ice maker failures stem from water supply issues, frozen lines, clogged filters, or stuck shutoff arms—all fixable with basic tools.
- Inspect the water supply line for kinks, test the water inlet valve’s pressure (minimum 20 psi required), and replace the water filter every six months to ensure consistent ice production.
- Check the shutoff arm position and ice maker module’s test button; if the freezer temperature is below 0°F or above 10°F, adjust the thermostat and allow 24 hours for the system to stabilize.
- Clear ice buildup from the mold and ejector mechanism using gentle heat from a hairdryer, then perform a hard reset by unplugging the refrigerator for 5 minutes.
- Call a professional technician if the freezer won’t reach target temperature, ice production fails after replacing the inlet valve and module, or water leaks appear inside the unit.
Check the Water Supply Line and Filter
Start with the basics. A Frigidaire ice maker needs a steady water supply to function, and blockages or kinks in the line are among the most common reasons for failure.
Inspect the water supply line behind the refrigerator. Look for kinks, pinches, or frost buildup along the quarter-inch plastic or copper tubing. Even a slight bend can restrict flow enough to starve the ice maker. If the line runs through an unheated space or along an exterior wall, freezing is a real risk during winter months. Thaw frozen lines carefully with a hairdryer on low heat, never use an open flame or heat gun.
Next, check the water filter. Frigidaire recommends replacing the filter every six months, but hard water or heavy use can clog it sooner. A clogged filter reduces water pressure, which can prevent the ice maker from filling properly. Pull the filter (usually located in the upper-right interior or at the base grille) and inspect it. If it’s discolored, past its replacement date, or hasn’t been changed in over six months, swap it out. Aftermarket filters are fine, but verify they meet NSF/ANSI Standard 42 or 53 for contaminant reduction.
Turn off the water supply valve at the wall or floor connection and disconnect the line at the refrigerator inlet. Turn the valve back on briefly over a bucket to confirm water flows freely. If flow is weak or nonexistent, the issue lies upstream, check the saddle valve (if installed) or the home’s main supply line. Saddle valves are notorious for clogging and should be replaced with a proper tee valve if access allows.
Inspect the Ice Maker On/Off Switch and Arm Position
Frigidaire ice makers include a wire shutoff arm or an electronic on/off switch, depending on the model. Both serve the same purpose: stopping ice production when the bin is full. If either is in the wrong position, the unit won’t make ice even if everything else is working.
Locate the shutoff arm, a metal or plastic wire along the front or side of the ice maker assembly. It should move freely up and down. When the bin fills with ice, cubes push the arm up, triggering a shutoff. If the arm is manually lifted or stuck in the raised position (often from being bumped during cleaning), the ice maker thinks the bin is full and won’t cycle. Lower the arm completely and listen for the unit to hum or click within a few minutes. If it doesn’t respond, the arm mechanism or internal switch may be faulty.
For models with an electronic switch (usually a rocker or slide switch on the ice maker housing), verify it’s in the “On” position. It sounds obvious, but these switches get toggled accidentally during shelving adjustments or cleaning. Some Frigidaire models also feature a control panel on the door with an ice maker enable/disable button, double-check that setting as well.
If the arm moves freely and the switch is on but ice production hasn’t resumed after 24 hours, the arm’s micro-switch inside the ice maker module may have failed. Replacing the switch alone isn’t cost-effective: the entire module typically needs replacement (covered later).
Examine the Water Inlet Valve for Clogs or Malfunctions
The water inlet valve controls water flow from the supply line into the ice maker and dispenser. It’s a solenoid-operated component located at the rear lower section of the refrigerator, where the supply line connects. When it fails or clogs, the ice maker won’t receive water.
Unplug the refrigerator before working near electrical components. Locate the inlet valve, it’s typically a plastic or brass fitting with two or more solenoid coils and wire connectors. Remove the rear access panel (usually held by Phillips screws) to expose it. Check the small mesh screens inside the valve’s inlet ports. Sediment, mineral deposits, or debris from the supply line can clog these screens, especially if the home has hard water. Carefully remove the screens with needle-nose pliers and rinse them under water. If they’re heavily calcified, soak in white vinegar for 15 minutes, then scrub with an old toothbrush.
Test the valve electrically using a multimeter set to ohms. Disconnect the wire harness and probe each solenoid coil’s terminals. A functional valve reads between 500 and 1,500 ohms. Readings outside this range, or an open circuit (infinite resistance), indicate a failed solenoid. Replacement valves cost $20–$50 and are straightforward to swap, just shut off the water, disconnect the lines and wiring, unbolt the old valve, and reverse the process with the new one. Use Teflon tape on threaded fittings to prevent leaks.
One less obvious issue: inlet valves require a minimum of 20 psi water pressure to open fully. If home water pressure is low (common in rural areas or homes with older plumbing), the valve may not deliver enough water to the ice maker. A pressure gauge on an outdoor spigot can confirm this. If pressure is below 20 psi, consider installing a booster pump or consult a plumber.
Test the Ice Maker Module and Temperature Settings
The ice maker module is the brain of the operation, a small motorized assembly that cycles water fill, freeze, and harvest. If this component fails, the entire ice-making process stops. Frigidaire modules are model-specific, so have the refrigerator’s model number handy (found on a label inside the fridge or on the rear panel).
Check freezer temperature first. The ice maker won’t cycle if the freezer isn’t cold enough. Use a standalone freezer thermometer (not just the digital display, which can drift) and confirm the compartment holds between 0°F and 5°F. Anything above 10°F is too warm for reliable ice production. Adjust the freezer thermostat and allow 24 hours for stabilization. If the freezer won’t reach target temperature, the issue may be a faulty thermostat, defrost system, or sealed system leak, those require professional diagnosis.
Manually test the module by locating the small test button or hole on the ice maker housing. On many Frigidaire models, this is a white or red button: on others, it’s a pinhole requiring a small Allen wrench or paperclip. With the ice bin removed, press and hold the button for 3–5 seconds (or rotate the Allen wrench 90 degrees). The module should begin a harvest cycle: the motor turns, the ejector blades rotate, and the mold heater warms the ice tray. If nothing happens, the module is likely dead.
Replacing the module is a 15-minute job. Unplug the refrigerator, remove the ice bin, and locate the mounting screws (usually two or three Phillips-head screws on the front or side of the assembly). Disconnect the wiring harness, unbolt the module, and pull it out. Install the new module in reverse order, making sure the shutoff arm engages properly. OEM Frigidaire modules cost $60–$120: aftermarket versions run $30–$60. Stick with OEM for best reliability.
Clear Ice Buildup and Reset Your Ice Maker
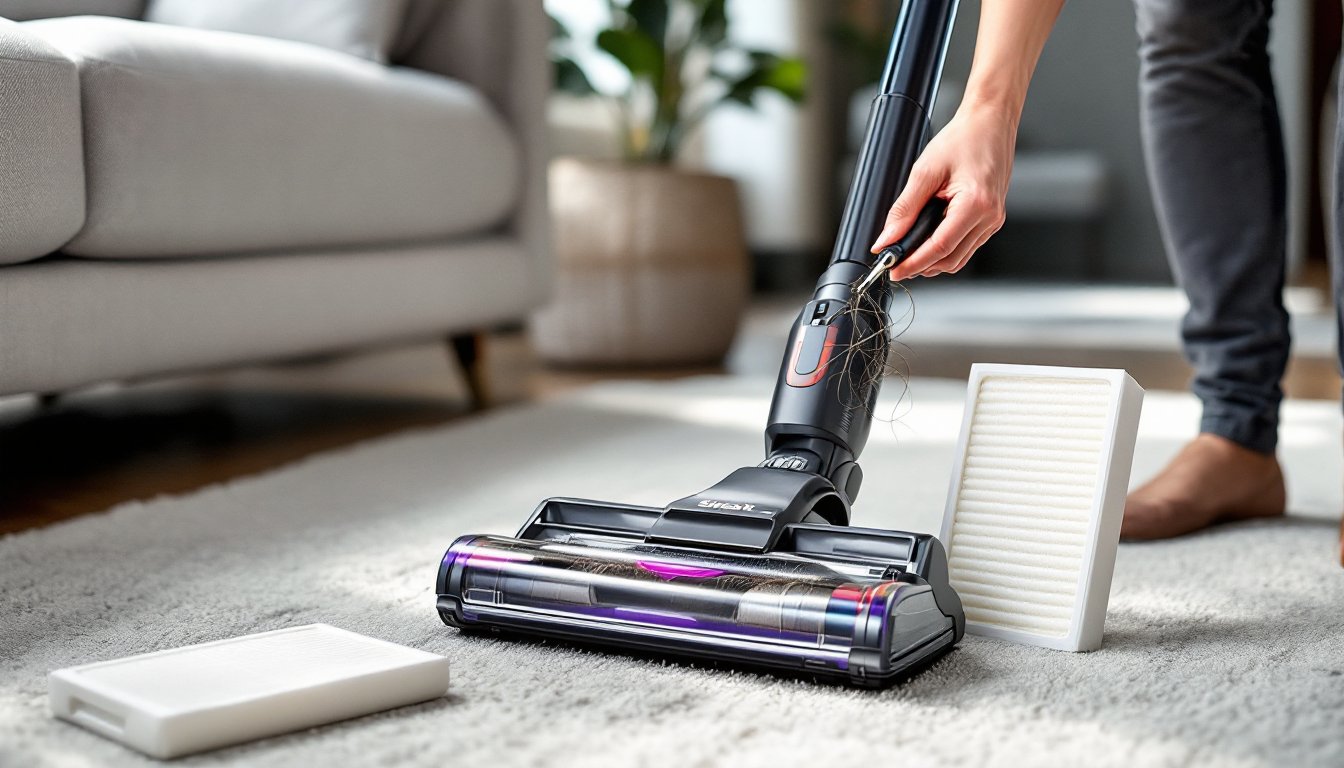
Ice buildup inside the ice maker assembly or bin is a sneaky problem. It can jam the ejector mechanism, block the mold, or freeze the shutoff arm in place, all of which halt production.
Remove the ice bin and inspect the ice maker tray and surrounding area. Look for frost, ice dams, or frozen clumps around the fill tube (the small plastic tube that delivers water to the mold). If present, this usually means the fill tube froze due to low freezer temperature, poor door seal, or a blocked air vent. Thaw the ice with a hairdryer on low heat, working carefully to avoid melting plastic components. Wipe away moisture with a towel and ensure the fill tube is clear.
Sometimes, the mold itself freezes over with a solid sheet of ice instead of individual cubes. This happens when the ejector blades don’t fully clear the mold during a cycle, often due to a weak motor or worn blades. Ejector blade replacement is part of a full module swap in most Frigidaire models, since the blades aren’t sold separately.
Reset the ice maker after clearing ice. Many Frigidaire models reset automatically when the shutoff arm is lowered or when power is cycled. For a hard reset, unplug the refrigerator for 5 minutes, then plug it back in. Alternatively, press and hold the test button (if equipped) until you hear a chime or see the cycle begin. Give the system 24 hours to resume normal operation. If ice starts forming but clumps or jams again, the freezer may be running too cold (below 0°F), causing moisture to freeze before ejection. Adjust the thermostat slightly warmer.
When to Call a Professional Appliance Repair Technician
Not every ice maker problem is a DIY fix. Some failures trace back to sealed system issues, control board malfunctions, or deeper electrical problems that require specialized tools and training.
Call a pro if:
- The freezer won’t reach or hold 0°F after adjusting the thermostat and clearing vents. This points to compressor, refrigerant, or defrost system failure.
- You’ve replaced the water inlet valve and ice maker module, but the unit still won’t produce ice. The issue may lie in the main control board, door switch, or wiring harness.
- There’s water pooling under the refrigerator or inside the freezer compartment. Leaks can stem from cracked fill tubes, failed door gaskets, or drain line clogs, diagnosing the source often requires pulling the unit out and inspecting hidden components.
- The ice maker cycles but produces hollow, misshapen, or cloudy cubes. This can indicate low water pressure, a faulty fill timer in the control board, or even issues with the home’s water supply chemistry.
Reputable appliance repair typically costs $150–$300 for a service call and straightforward part replacement, depending on region and labor rates. Get a quote upfront and ask whether parts are OEM or aftermarket. Some problems, like a failed sealed system in an older refrigerator, may cost more to repair than the appliance is worth, factor in the unit’s age and overall condition before authorizing major work. For common ice maker repairs and troubleshooting steps, many technicians will walk homeowners through basic checks over the phone before scheduling a visit.
Conclusion
Most Frigidaire ice maker failures boil down to water supply issues, a stuck shutoff arm, a clogged filter, or a failed module. Working through these seven checkpoints methodically saves time and money, and gets ice production back on track without a service call. Keep the water filter fresh, monitor freezer temperature, and clear frost buildup during routine cleaning. When in doubt, test components with a multimeter and replace parts one at a time. If the problem persists after checking water flow, valves, and the module, it’s time to bring in a technician.